GETTING STARTED
Now that you’ve decided to start a garden, where do we begin? Look no further, in this post I will be covering the basics of getting started and steps to operating a successful garden. Fortunately, many schools already have a school garden and will not have to go through the steps one will typically need to go through when starting their garden such as choosing a location and preparing their garden beds. Have a vision of what you want to achieve in the garden and make a garden that works for YOU. And most importantly, have fun!
school garden
If your school does not have an outdoor garden and you are interested in starting up a school garden at your school, please contact your school district and administrative team about creating one! Every school district has their own guide and instructions on getting started for a school garden.
Check out these guides I found on how to apply to the Surrey and Vancouver School District for approval in starting up a school garden.
Before you start digging out a random spot in your yard to use as your garden, you need to think thoroughly about the location of your garden. To get the most out of your garden, the location can be a determining factor on whether your garden will be a success or not. Consider what you’d like to grow in your garden. How much space would you need to grow these plants? What conditions do these plants thrive in? Check out the how to grow page on various vegetables, fruits, and herbs you can easily grow in your garden!
Direct exposure to sunlight is one of the most critical points to consider when choosing a location. Many crops including most fruits and vegetables need full sunlight to grow successfully. Pay close attention throughout the day to figure out where the sunlight hits – we are aiming for 6-8 hours a day of direct exposure. Try to choose a location that is away from buildings or any other large structures that will interfere with full sunlight and will cast shade over your garden. If you are living in the Northern Hemisphere, a south-facing garden would be the best option as these gardens will receive the most sunlight throughout the day.
Make sure your garden is close to a good water source! A good indication is that your garden should not be more than one hose length away from the closest water source. Consider the drainage of your garden; a flat location will be ideal as it will cause the water to drain evenly.
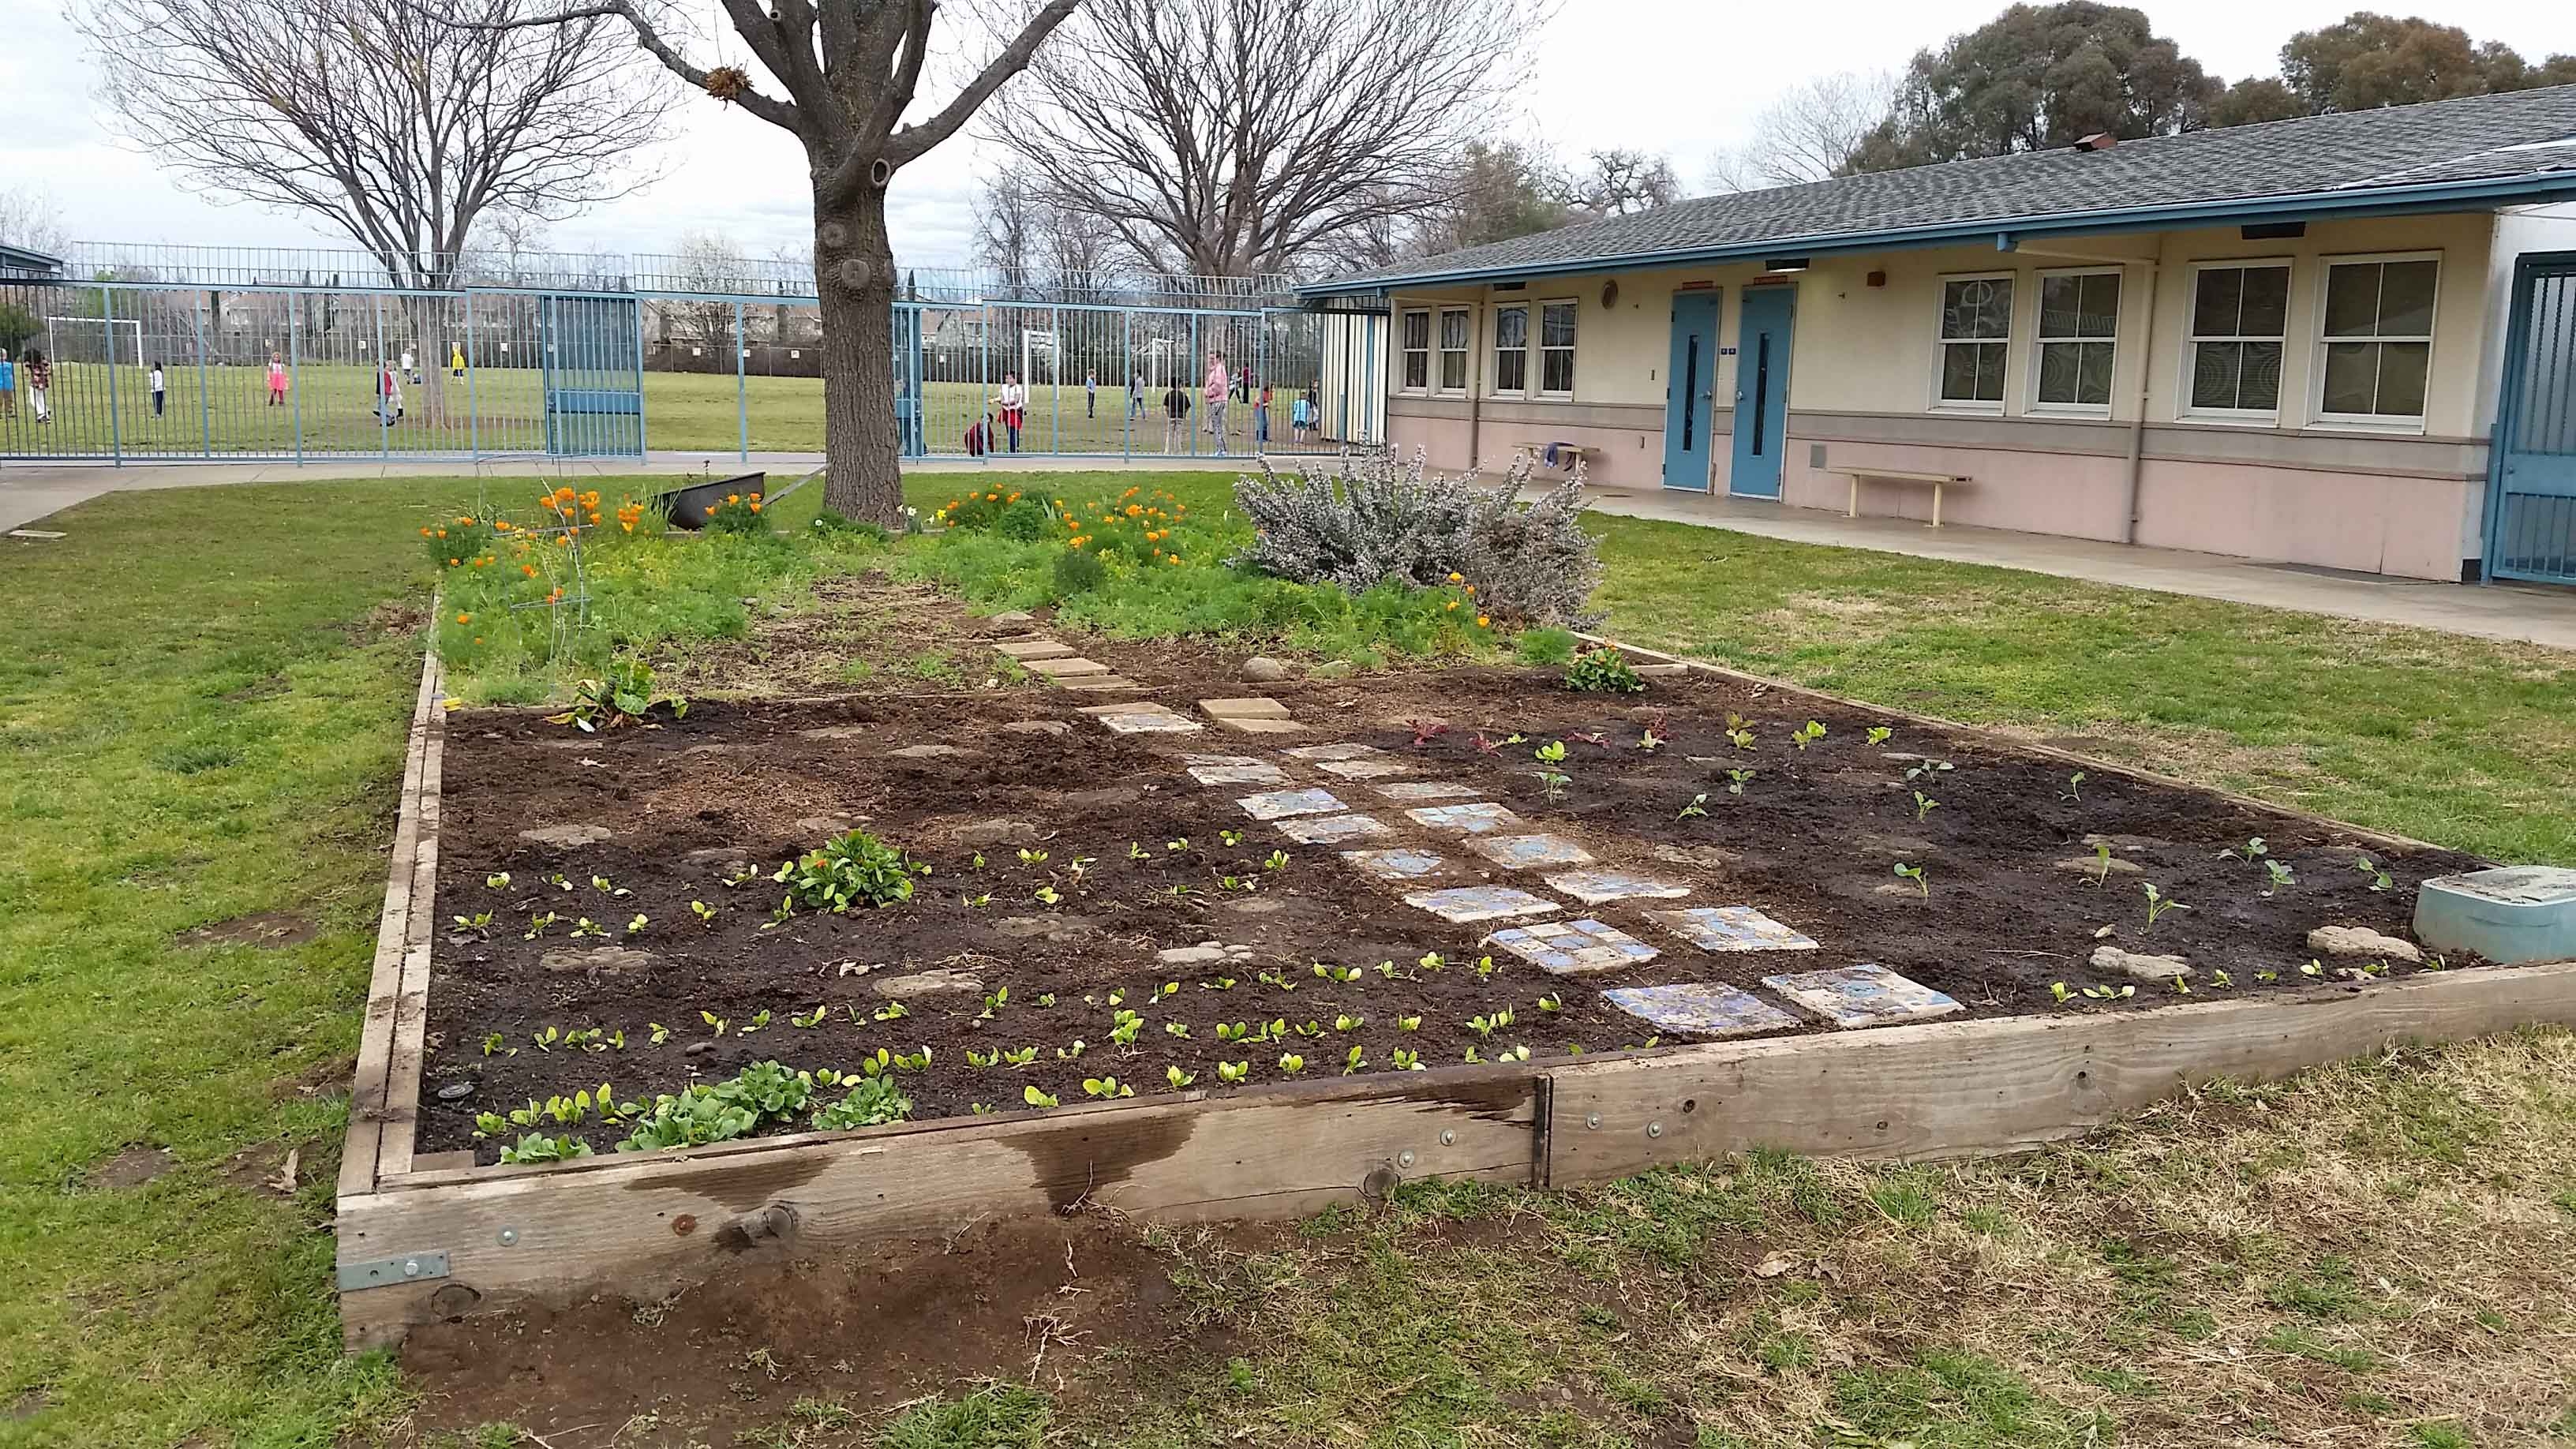
Think about accessibility throughout the garden, is it accessible to people with varying physical abilities such as children in wheelchairs? The easier it is to access and navigate around the garden, the easier it will be to incorporate it into the curriculum. If the garden is used for educational purposes, consider the teaching and gathering areas. Aim for open space and plan for walkways.
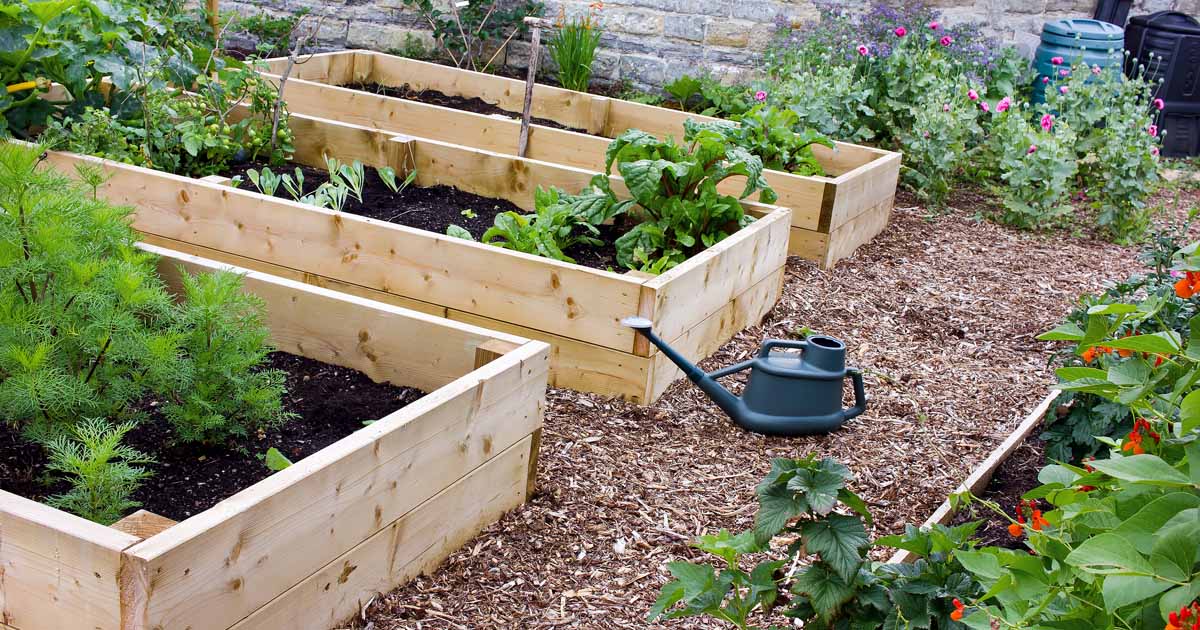
Raised garden beds are an ideal option for almost any garden situation! In very simple terms, raised garden beds are essentially large bottomless boxes filled with soil that is raised up above its surrounding surfaces. Raised garden beds helps eliminate or minimize many problems especially for beginning gardeners including, looks more neat and tidy, less stooping and bending, greater control over weeds, better drainage, and prevent soil compaction. One major benefit of a raised garden bed is the soil gets warm faster in spring, thus resulting in earlier and longer growing season with the potential of harvesting before the end of the school year. With its many benefits, it is commonly used in school gardens as it makes gardening much easier to maintain and tend with children.
Regarding its size and dimensions, a good rule of thumb is to aim for 3 to 4 feet in width so children are able to easily reach the centers of the beds from either side. The length does not matter too much and is usually up to personal preference and available space in the garden. However, the recommendation would be 4 to 6 feet in length to ensure that you will not have to walk too far to get to the other side and it also gives the option to build multiple raised garden beds for different types of crops. The common height of a raised garden bed ranges from 6 to 12 inches tall, with some as tall as 36 inches. To make your garden wheelchair friendly, beds should be approximately 24 inches tall. Remember, the higher and more depth a raised garden bed as, the more room it has for roots to grow but it also increases material cost. Be considerate of the traffic flow and spacing in your garden before installing your beds to accommodate anyone who will be in your garden.
Depending on the type of material your bed is made out of, most will eventually rot and break down. The recommendation here would be to have a raised garden bed made out of naturally rot-resistant cedar or redwood. Although these are more expensive to purchase, they are more durable and generally last for 10 to 20 years and plus, they look great! Keep in mind that thicker boards (e.g., 2 inches) will also make the wood last longer too. Check out this chart that compares different types of materials used for raised garden beds.
Tip: For a cheaper option for a raised garden bed, consider DIY. There are a lot of tutorials online to build your own raised garden bed and most are fairly easy to construct. Simply Google “DIY raised garden bed” and choose the project most suitable for you. Or ask your local high school to make one as a woodworking project! Check out this awesome video I found on how to build a raised garden bed for under $15!
When you are gardening with children, you do not need an entire shed full of gardening tools for every different type of plant you plan to grow. In the list below, it includes basic essential gardening tools and equipments that will get you going and help your gardening efforts run more smoothly. Be realistic with the tools you will use and strive to only purchase what you will need.
In addition to your own adult sized set, it is best to also get child sized gardening sets when working with children as children may be thrown off by any adult sized equipment and it can be unsafe for children to use. Make gardening more enjoyable by purchasing an appropriate number and appropriate sized tools and equipments that will best suit everyone involved in the gardening process. Teach children on how to use these tools and equipments safely and keep a close supervision especially when working with spades and forks.
1) Hand Trowels and Shovels
This will probably be your most frequently used tool in your garden. Used for digging, transplanting, removing weeds, and just about any everyday gardening tasks. Look for trowels and shovels that are sturdy, lightweight, and fits comfortably in your hands. A digging fork will also be practical to use in the garden to help loosen, turnover, and lift soil.
2) Gardening Gloves
Protect your hands and keep your hands clean with gardening gloves. It is a good idea to invest in gloves that are durable, water-resistant, and has reinforced fingertips and padding for additional protection. Also, long cuffs will help keep your arms safe from scratches and prevent soil from getting in. When it comes to gardening gloves, the fit is very important. It should be snug enough so that it does not fall off, but also not tight enough to cause any blisters or restrict your hand movement.
3) Pruning Shears
Pruning shears are an excellent tool when it comes to cutting off dead branches and stems from plants and bushes up to 3/4 inches in diameter. It makes a clean cut without tearing plant tissue which encourages the growth of new blooms. Removing dead parts of any plants helps prevent any undesired growth or unwanted pests in your garden. Pruning will keep your garden healthy and last longer, in addition to, looking its best.
4) Hose/Watering Can
Watering your plants is a must! One way to easily get children involved in gardening is allowing them to have their own watering can. Look for watering cans that have long spouts for hard to reach areas and size to fit whoever is using it. You can also get away with using any small container to use as a watering can. Trust me, children LOVE to water those plants and sometimes a bit TOO much.
5) 5-Gallon Buckets
This may sound weird but this is honestly one of the best garden tools out there. There are endless possibilities of what you can use the bucket for, for example, storing smaller tools, moving piles of soil, or even turned upside down to use as a chair. Buckets are easy-to-understand measurements for children when watering plants. Let children know how many buckets in total is needed per raised garden bed, then fill up your bucket, move it near the garden bed, and simply allow children to fill up their watering can from the bucket until there is no more water in the bucket.
Tip: Ask around your local sub stores, bakery, restaurants, and even grocery stores! Many places may have a huge stockpile of them and will be willing to part with their buckets for free.
For raised garden beds, it is also useful to have a spade and wheelbarrow for moving piles of soil into your beds, as well as, a garden hoe.
This section mainly applies to school gardens. Before you go ahead and gather all your supplies, check to see if your school applies for any available grants or funding that will help with costs such as start up and maintenance. A fun way to get the whole school involved in the process of obtaining the materials and funds needed for the garden is to consider doing fundraising projects. Check out the two links below that have compiled a list of garden funding for those living across Canada (there may be a few missing available funding resources, I encourage you to do your own research as well):
1) https://meganzeni.com/bc-school-garden-grants/
2) https://www.littlegreenthumbs.org/2019/02/07/do-more-with-your-garden/
Check out this page to either donate to an existing fundraiser or start your own fundraiser.